Learn the best fertilizer for peppers and tomatoes, when to apply it, and what mistakes to avoid for a bigger, healthier harvest this season.
Introduction
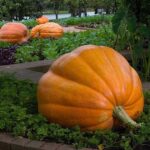
You planted your peppers and tomatoes with hope, gave them water and sunlight — and yet something feels off. The leaves are yellowing, the fruit is small, or the plants just look sad compared to your neighbour’s garden. Nine times out of ten, the problem isn’t your soil, your seeds, or your watering schedule. It’s the fertilizer or the lack of it.
Peppers and tomatoes are heavy feeders. They pull enormous amounts of nutrients from the soil as they grow, flower, and produce fruit. Without the right fertilization strategy, even the best seeds in the best location will underperform. But here’s the thing fertilizing these plants isn’t complicated once you understand what they actually need and when they need it.
This guide covers everything: the right nutrient ratios, timing, organic vs. synthetic options, common deficiency signs, and real-world tips that experienced gardeners swear by.
Why Peppers and Tomatoes Need So Much Fertilizer
Both peppers and tomatoes belong to the Solanaceae family, and they share a lot of nutritional needs. They’re warm-season crops that spend months producing fruit — which is an energy-intensive process. During that time, they continuously draw nitrogen, phosphorus, potassium, calcium, magnesium, and several micronutrients from the soil.
Most garden soils, especially in urban and suburban areas, don’t have enough of these nutrients naturally. Even rich compost-amended beds get depleted over a growing season. If you’re growing in containers or raised beds, the nutrient depletion happens even faster.
The result of poor nutrition shows up in frustrating ways: blossom end rot on tomatoes, pale or purple-tinged leaves on peppers, poor fruit set, stunted growth, and low yields. A consistent fertilizer routine prevents most of these problems before they start.
Understanding NPK Ratios for Tomatoes and Peppers
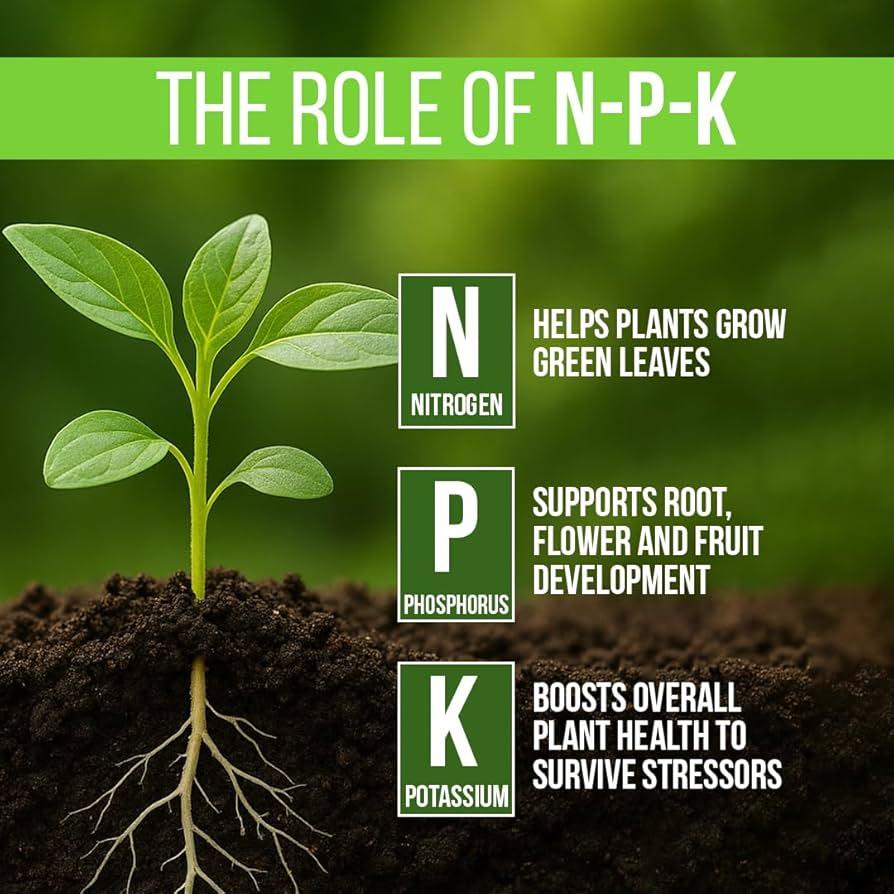
Before picking any fertilizer off the shelf, you need to understand NPK — the three numbers on every fertilizer label. They stand for Nitrogen (N), Phosphorus (P), and Potassium (K), and each plays a specific role.
- Nitrogen (N): Drives leafy, vegetative growth. Too much leads to lush foliage with little fruit.
- Phosphorus (P): Supports root development and flowering. Critical during the early stages and at transplanting.
- Potassium (K): Strengthens cell walls, improves disease resistance, and boosts fruit quality and size.
What NPK Ratio Works Best?
The ideal ratio shifts depending on the growth stage:
| Growth Stage | Recommended NPK | Purpose |
|---|---|---|
| Seedling Stage | 2-1-1 or balanced 10-10-10 | Gentle all-round nutrition |
| Transplanting | 5-10-5 or 6-24-6 | Root establishment, phosphorus-heavy |
| Vegetative Growth | 8-4-4 or 10-5-5 | Push leafy development |
| Flowering & Fruiting | 5-10-10 or 8-32-16 | Reduce N, boost P and K |
| Late Season | 4-6-8 | Potassium-heavy for fruit ripening |
This is one of the most overlooked aspects of home vegetable gardening. Most people use the same fertilizer from seed to harvest, when in reality the plant’s nutritional demands change significantly at each stage.
The Best Types of Fertilizer for Peppers and Tomatoes
Granular Slow-Release Fertilizers
Granular fertilizers are mixed into the soil before planting or side-dressed along plant rows. They break down gradually over weeks or months, providing a steady supply of nutrients. This makes them excellent for busy gardeners who don’t want to fertilize weekly.
Products like Osmocote Plus or Espoma Tomato-tone are popular choices. They’re easy to apply, reduce the risk of nutrient burn, and work well in raised beds and in-ground gardens alike. The downside is that once they’re in the soil, you can’t easily adjust if you over-apply.
Water-Soluble Fertilizers
Liquid or water-soluble fertilizers like Miracle-Gro Tomato Plant Food or Fox Farm Grow Big are fast-acting. They get absorbed through roots (and even foliage when used as a foliar spray) within hours. These are ideal for correcting deficiencies quickly or giving plants a boost during peak growing periods.
The trade-off is that they leach out of soil quickly, especially in containers, so they need more frequent application — typically every one to two weeks during the growing season.
Organic Fertilizers
Organic options have gained massive popularity, and for good reason. They feed soil biology alongside plants, improving long-term soil health. Common organic fertilizers for tomatoes and peppers include the following:
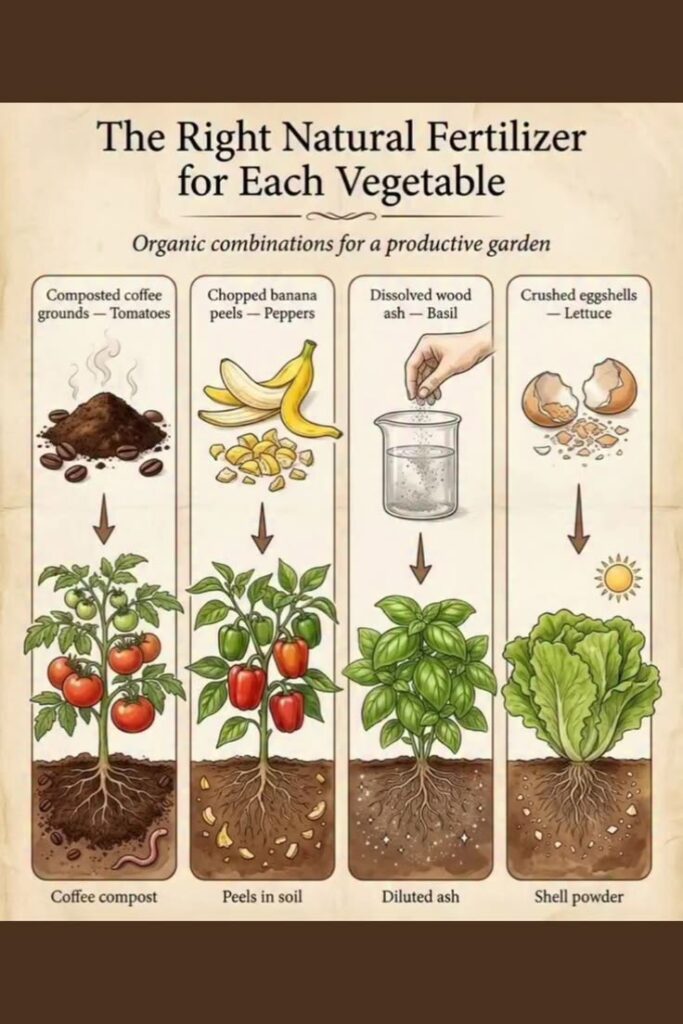
- Compost: Broadly nutritious, improves soil structure, and feeds beneficial microbes.
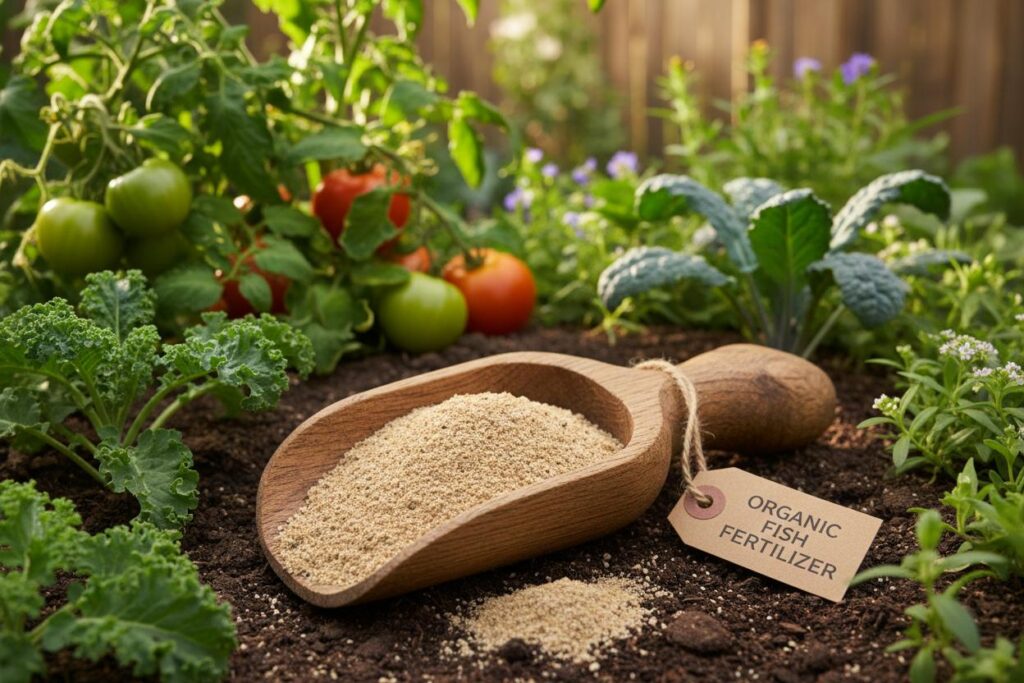
- Fish emulsion: High in nitrogen, fast-acting, and great for vegetative growth.
- Kelp meal: Rich in micronutrients and natural growth hormones.
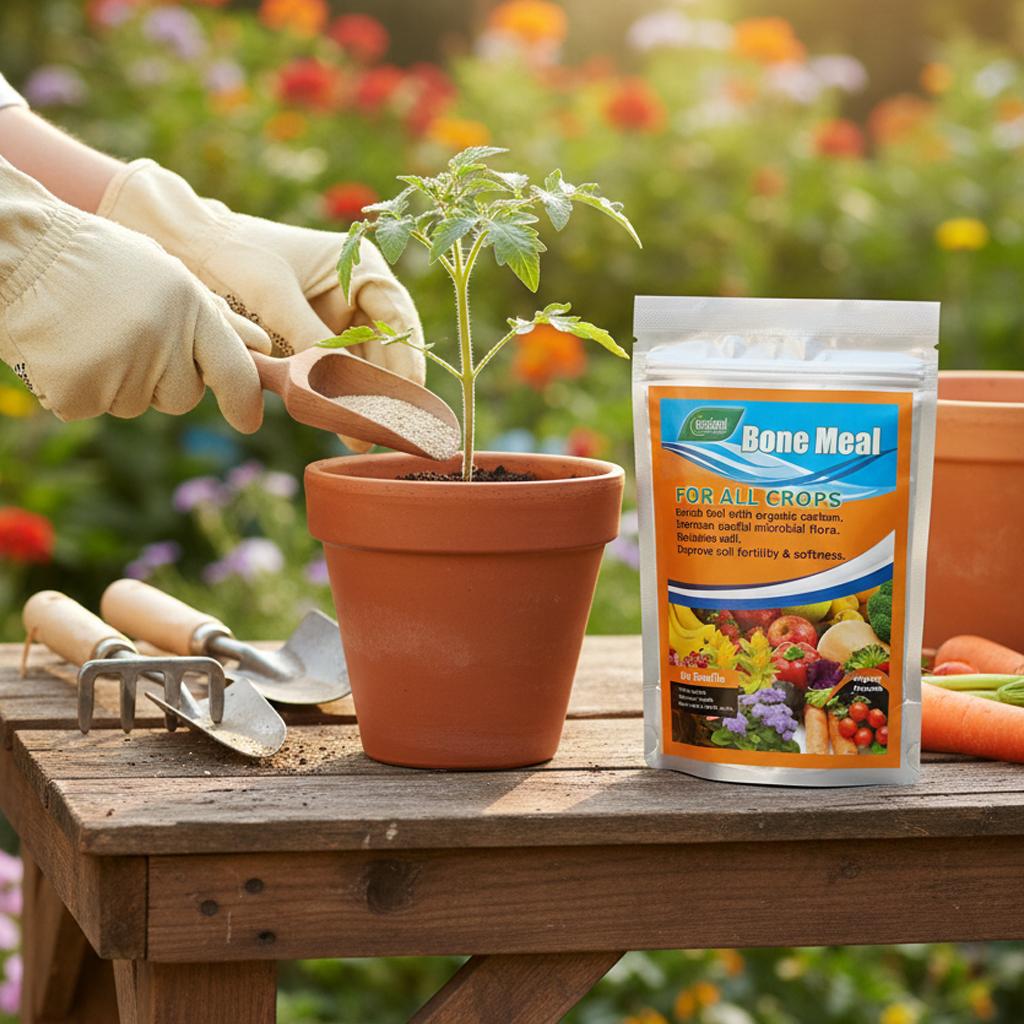
- Bone meal: High in phosphorus — excellent at planting time.
- Worm castings: Gentle, balanced, and safe even for seedlings.
Many experienced gardeners combine organic and synthetic approaches – using compost and slow-release organics as a base and supplementing with liquid fertilizers during critical growth windows.
When to Start Fertilizing Peppers and Tomatoes
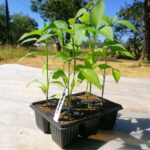
Starting from Seed
If you’re starting seeds indoors, hold off on fertilizer until the seedling has developed its first true leaves (not the initial seed leaves). At that point, use a very diluted liquid fertilizer — about quarter-strength — once a week. Seedlings don’t need much, and over-fertilizing early causes more damage than under-fertilizing.
At Transplanting
This is a critical moment. Before setting plants in the ground, mix a phosphorus-rich fertilizer into the planting hole. Bone meal or a starter fertilizer with a high middle number (like 5-10-5) works perfectly here. Phosphorus supports root development, and getting roots established quickly gives plants a strong foundation for the whole season.
During Vegetative Growth
Once plants are in the ground and growing actively, switch to a nitrogen-forward fertilizer to push healthy leaf and stem growth. This typically runs from transplanting until the plant starts flowering — roughly the first four to six weeks.
At Flowering and Fruiting
This is where many gardeners go wrong. They keep feeding nitrogen, which causes the plant to push out more leaves instead of setting fruit. When you see the first flowers, switch to a fertilizer with lower nitrogen and higher phosphorus and potassium. This shift redirects the plant’s energy toward fruit production.
Through the Harvest Period
Keep fertilizing through the season, but dial back the frequency slightly. A potassium-rich feed every two to three weeks during fruit development helps improve fruit size, flavour, and shelf life.
Critical Nutrients Beyond NPK
Calcium
Calcium deficiency is the direct cause of blossom end rot — the dark, sunken spots on the bottom of tomatoes and peppers that ruin so many home harvests. It’s not always a matter of calcium being absent in the soil; often, irregular watering prevents calcium from moving into the plant effectively.
To address this, use a calcium-containing fertilizer or apply calcium sprays (like calcium chloride or calcium nitrate solution) directly to the foliage. Mulching helps maintain consistent soil moisture, which naturally improves calcium uptake.
Magnesium
Magnesium is part of chlorophyll, so a deficiency shows up as yellowing between the leaf veins (called interveinal chlorosis). An easy fix: dissolve one tablespoon of Epsom salt (magnesium sulphate) in a gallon of water and apply as a foliar spray every few weeks during the growing season.
Sulfur
Sulphur helps with protein synthesis and enzyme function. Organic fertilizers like blood meal, feather meal, and fish emulsion naturally contain sulphur, so gardeners using organic methods rarely see deficiencies.
Reading Plant Signals: What Your Tomatoes and Peppers Are Telling You
Plants communicate nutrient stress visually. Learning to read these signals helps you correct problems before they become serious.
Nitrogen deficiency: Pale yellow-green leaves starting from the bottom of the plant, slow growth, thin stems. Fix: Apply a nitrogen-rich fertilizer or fish emulsion.
Phosphorus deficiency: Purple or reddish tinge on the underside of leaves, especially in cool weather. Fix: Add bone meal or a high-phosphorus fertilizer.
Potassium deficiency: Scorched or brown leaf edges, weak stems, poor fruit development. Fix: Apply potassium sulphate or use a fertilizer with a high K number.
Calcium deficiency: Blossom end rot, distorted young leaves, tip burn. Fix: Consistent watering plus calcium sprays or amendments.
Magnesium deficiency: Yellow patches between leaf veins on older leaves. Fix: Epsom salt spray or a fertilizer containing magnesium.
Organic vs. Synthetic: Which Is Right for Your Garden?
This debate comes down to your priorities. Organic fertilizers build soil health over time, support beneficial soil organisms, reduce the risk of chemical runoff, and produce food you can feel good about eating. They’re generally gentler and harder to over-apply.
Synthetic fertilizers are more precise, faster-acting, and cheaper per unit of nutrient. They’re excellent for correcting specific deficiencies quickly and for high-demand crops where timing matters.
A practical approach many home gardeners use: amend the soil with compost before planting, use organic slow-release fertilizer as a base, and supplement with liquid synthetic fertilizer during peak fruiting. This gives you the best of both worlds.
Common Fertilizing Mistakes That Destroy Yields
Over-fertilizing with nitrogen: The number one mistake. Lush, dark green plants with few flowers and fruit are a classic sign of nitrogen overdose. The plant is growing beautifully but putting nothing into reproduction.
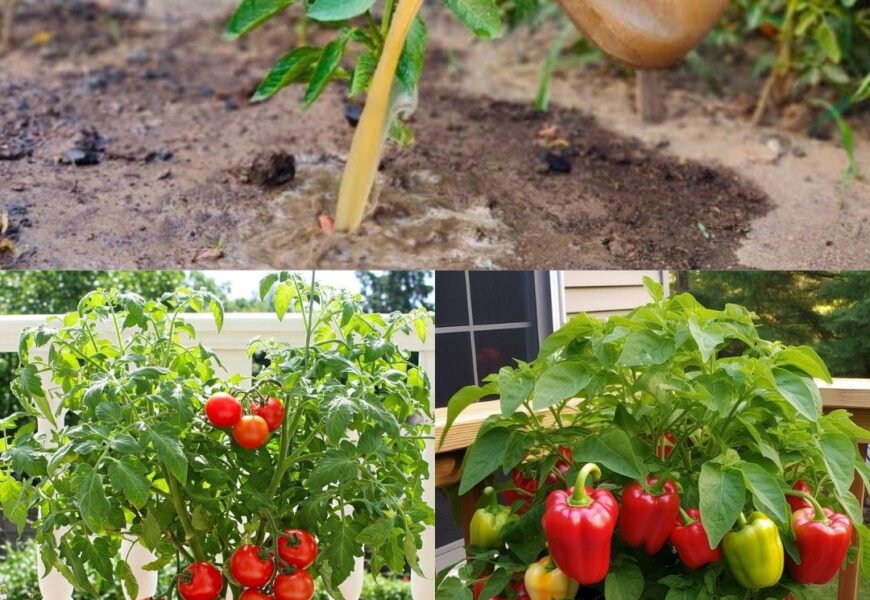
Fertilizing dry soil: Always water your plants before applying granular or liquid fertilizer. Fertilizing dry soil concentrates nutrients around roots and can cause chemical burns.
Ignoring soil pH: Nutrients become unavailable at extreme pH levels. Tomatoes and peppers prefer a slightly acidic pH of 6.0–6.8. Test your soil and adjust with lime (to raise pH) or sulphur (to lower pH) if needed.
Skipping calcium: Many all-purpose vegetable fertilizers don’t contain enough calcium. Add it separately, especially if you’ve had blossom end rot problems in the past.
Stopping too early: Some gardeners stop fertilizing once fruit appears. Keep going — fruit development is actually the most nutrient-intensive phase of the plant’s life.
A Simple Fertilizer Schedule for Home Gardeners
Here’s a practical schedule that works for most home gardens:
2 weeks before planting: Mix compost and a balanced granular fertilizer (10-10-10) into the top 8–10 inches of soil.
At transplanting: Add bone meal or a high-phosphorus starter fertilizer to the planting hole.
Weeks 1–4 after transplanting: Apply a nitrogen-forward liquid fertilizer (like fish emulsion) every 10–14 days.
First flowers appear: Switch to a low-nitrogen, high-K formula. Continue every 10–14 days.
Peak fruiting: Keep up the potassium-forward feed. Add a calcium spray every 2–3 weeks.
Late season: Taper fertilization as plants slow down, but don’t stop completely if you’re still harvesting.
Mini Case Study: Two Backyard Gardeners, Very Different Results
A home gardener in Tennessee planted two identical tomato beds one season. Both had the same soil, same variety (Better Boy), and same watering setup. The difference: one bed received no fertilizer beyond the initial compost, while the other followed a staged fertilization schedule with bone meal at planting, fish emulsion during vegetative growth, and a tomato-specific low-nitrogen formula during fruiting.
By mid-August, the fertilized bed was producing nearly three times as many tomatoes. The unfertilized bed had larger, greener plants — but the fruit set was poor, and much of what did grow was small and prone to blossom end rot.
This kind of result isn’t unusual. Consistent, stage-appropriate fertilization is one of the highest-return practices in vegetable gardening.
Conclusion
Fertilizing peppers and tomatoes well isn’t about dumping the most nutrients possible into the soil. It’s about providing the right nutrients at the right time — shifting the formula as your plants move from seedling to vegetative growth to fruiting.
Start with good soil amended with compost, use a phosphorus-heavy fertilizer at planting, shift toward nitrogen during early growth, then pull back on nitrogen and lean into phosphorus and potassium when flowers appear. Don’t forget calcium. And don’t stop fertilizing just because you’re starting to harvest.
FAQs
What is the best NPK ratio for tomatoes?
During fruiting, a ratio of 5-10-10 or 8-10-8 works well. Earlier in the season, a balanced or slightly nitrogen-forward ratio like 10-10-10 or 12-6-6 supports vegetative growth.
Can I use the same fertilizer for peppers and tomatoes?
Yes. They have very similar nutritional needs. Tomato-specific fertilizers work well for peppers too. Just follow the same stage-based approach.
How often should I fertilize tomatoes?
Every 10–14 days during the active growing season for liquid fertilizers. Granular slow-release formulas typically last 2–3 months.
Is Epsom salt a fertilizer for tomatoes?
Not exactly — Epsom salt (magnesium sulphate) is a magnesium supplement, not a complete fertilizer. It helps with magnesium deficiency but doesn’t provide NPK.
What causes blossom end rot in tomatoes?
Calcium deficiency, usually triggered by inconsistent watering. Ensure even moisture and supplement with calcium if needed.